Note: Your Access Level may restrict the use of some features.
To complete an Induction on the App, see Completing an Induction (App).
If an Induction has been started but not completed, see Resuming an Induction.Completing an Induction
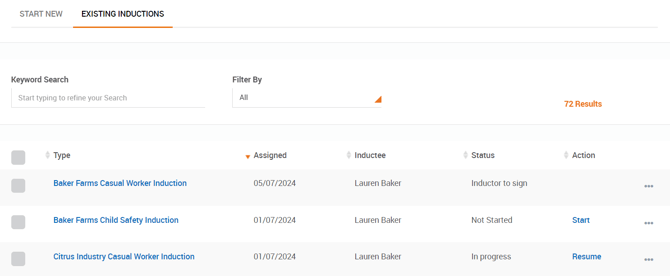
- From the left menu, select People > Start Induction and navigate to the Existing Inductions tab.

- Click Start to complete the Induction.
- Click Start Induction.
- Read through each statement and click Agree or Disagree.
- If a link, policy, or image is attached a blue square will appear in the statement. This needs to be opened before the inductee can move onto next statement.
- Once all statements are completed click Submit Induction.
- If there is a disagreement in the induction, it cannot be completed until the disagreement is resolved.
- Click Sign off.
- Complete the signature by using the mouse to sign or uploading your signature from a file.
- Click Submit. The Induction will be sent for sign off.